Short answer: the Reborn-FJ replacement roof panel (SKU SYC-TY65-13) is a complete steel panel for the factory hardtop on 1968–1984 Toyota Land Cruiser FJ40 models. It comes in protective primer and the drip rail channels are already formed into the assembly. They are not a separate add-on.
If the steel roof on an FJ40 has rusted around the edges, been distorted by an old repair, or lost its original rain-channel shape, patching one small area after another can eventually become the harder job.
We are often asked whether the gutter section has to be ordered or fabricated separately. For this roof panel, it does not. The assembly includes the signature channels that run around the roof edge, but installation still requires careful trial fitting, welding and normal bodywork by an experienced shop.
What comes with the FJ40 roof panel?
The panel is made to follow the factory roof contours and dimensions so the hardtop can regain its correct shape. It is intended to meet the side panels and windshield frame as part of the original-style steel hardtop structure.
| Vehicle application | Toyota Land Cruiser FJ40 factory hardtop, 1968–1984 models |
| Reborn-FJ SKU | SYC-TY65-13 |
| Construction | Steel replacement roof panel |
| Surface | Protective primer; final preparation is still required before paint |
| Drip rails / gutters | Included as part of the roof panel assembly |
| Installation | Welding and bodywork required |
| Supplied separately | Gaskets, headliner and mounting hardware are not included |

This is the roof skin and edge structure, not a bolt-on cosmetic cover. If the existing hardtop has corrosion hidden under old seam material or filler, the surrounding structure must be assessed before the old roof is removed.
A roof assembly we prepared for the United States
On August 18, 2026, we prepared one of these FJ40 roof panel assemblies for shipment from China to a customer in the United States. A roof panel is large, and the edges that make it fit correctly are exactly the areas that should not be allowed to take a knock in a freight terminal.
Prepared
August 18, 2026
Route
China to the U.S.
Quoted sea transit
25 days
For that reason, we did not send it as a loose panel. We built a wooden protective crate around the assembly so its broad surface and formed perimeter would be shielded during handling and sea transport. The closed crate in the photograph is the one made for this order. The quoted sea-transit time for this booking was 25 days from China to the United States.
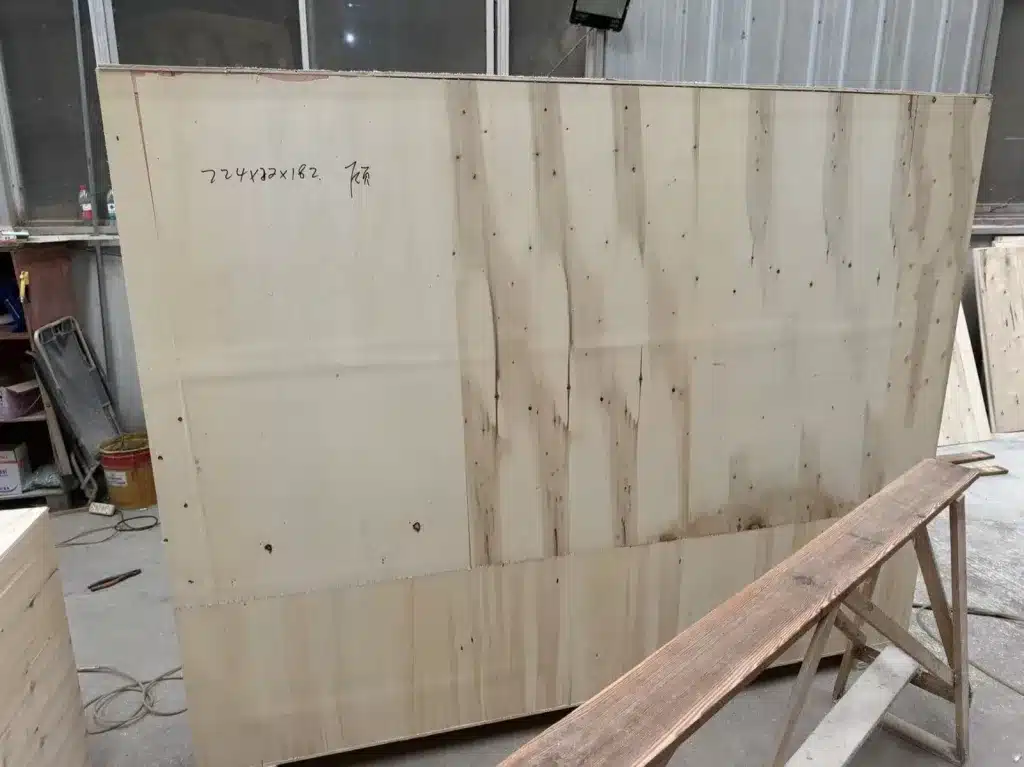
The crate is not there to make the shipment look impressive. It solves a simple, practical problem: a roof panel can remain perfectly usable across most of its surface and still become difficult to install if a corner or gutter edge is bent. Protecting those reference edges matters to the person who will eventually have to align the hardtop.
Check the hardtop before removing the old roof
The best time to measure an FJ40 hardtop is while it is still assembled and holding its shape. Before cutting or drilling out old joints, record the dimensions and inspect the structure beneath the roof.
We would ask the body shop to check at least the following:
- Look for corrosion along the upper side panels, windshield frame and the full roof perimeter, not only the damage visible from outside.
- Check whether a previous repair has pulled the hardtop out of square. Uneven door openings or an altered windshield-frame angle can affect roof alignment.
- Record diagonal measurements and opening dimensions before the original roof is disturbed.
- Identify old filler, brazing, welds or seam repairs that may hide the true factory joint.
- Compare the replacement panel with the vehicle before applying final paint or permanently joining anything.
An old FJ40 may have been repaired more than once over the past four or five decades. Even a correctly shaped replacement panel cannot correct a twisted hardtop by itself. The opening has to be made true first.
Trial fit first, then decide where to make the final joints
Set the panel on the hardtop and work around the entire perimeter before committing to a weld. Check the windshield-frame relationship, both side panels, the rear section and the roof contour as one system. Clamps should hold the panel without crushing the formed channel or forcing one corner down to compensate for another.
A useful trial-fit sequence
- Support and brace the hardtop so it cannot move when the old roof is removed.
- Clean the mating areas enough to expose solid metal and the original joint locations.
- Place the replacement panel without final coating, adhesive or permanent welding.
- Confirm the opening measurements again and compare the roof edge on both sides.
- Test the drip-rail line visually from the front, side and rear. A local high or low spot is easier to correct now than after finishing.
- Only after the fit is consistent should the installer plan the final welding and corrosion-protection process for the vehicle.
The exact joint preparation and welding method should be chosen by the body technician after seeing the condition of the hardtop. We do not recommend treating a forty-year-old roof structure as though every vehicle will have the same metal underneath.
The drip rails are included—keep them in shape during installation
The FJ40’s rain gutter is both a recognizable styling line and a functional channel. On this assembly, the drip rail channels are already included. There is no need to fabricate a separate gutter merely to complete the listed roof panel.
Their presence also gives the installer an important alignment reference. The channel should run evenly around the roof without a sudden step, twist or flat section. During clamping and welding, avoid using the formed gutter edge as a lever or a hard clamping surface.

Before finishing, check that the channel remains continuous and that the transition into the surrounding hardtop structure is clean. Any seam treatment should follow the coating system selected by the body shop; drainage paths should not be blocked in the process.
One more point tends to be missed when a panel looks tidy out of the crate: the supplied protective primer is a starting surface, not the final finish. The shop should still inspect, clean and prepare it according to the final paint manufacturer’s system.
Also plan for the parts that are not supplied with the roof panel. Gaskets, the headliner and mounting hardware are separate. If the original pieces are brittle, corroded or incomplete, identify replacements before the roof job reaches final assembly. Stopping midway because one small sealing or trim component is missing is frustrating, especially after the hardtop has been painted.
Is this the right approach for your FJ40?
A complete roof panel makes the most sense when corrosion or previous damage extends beyond a small, clean repair area, or when the original edge and gutter shape can no longer be recovered reliably. A local repair may still be the sensible choice for limited damage on an otherwise straight roof. The decision should come from bare-metal inspection and measurements, not from the outside appearance alone.
If you are comparing a replacement panel with your own hardtop, send clear photographs of the roof perimeter, windshield-frame corners and affected side structure. Model year is useful, but the condition and repair history of the actual vehicle matter just as much.
FJ40 roof panel questions
Does the FJ40 roof panel include the drip rails or rain gutters?
Yes. The Reborn-FJ steel roof panel assembly includes the formed drip rail channels around the roof edge. They are part of the listed assembly, not a separate gutter purchase.
Which Toyota Land Cruiser models does it fit?
The product listing identifies this panel for Toyota Land Cruiser FJ40 factory hardtops from 1968 through 1984. Because restoration vehicles may have previous body repairs or mixed hardtop components, confirm the vehicle and opening measurements before installation.
Can the panel be installed without welding?
No. The listing specifies that welding and bodywork are required. Trial fitting and structural alignment should be handled by a qualified restoration or body shop before final joining and paint.
Is the protective primer ready for the final topcoat?
It is a protective shipping and storage surface. The body shop should inspect and prepare it as required by the chosen paint system before applying the final finish.
Are the seals and headliner included?
No. Gaskets, headliner and mounting hardware are not included with the roof panel.
Compare the panel with your hardtop before cutting
For dimensions, fitment questions or photographs of the panel details, review the product page or send us clear photos of your roof perimeter and windshield-frame corners.